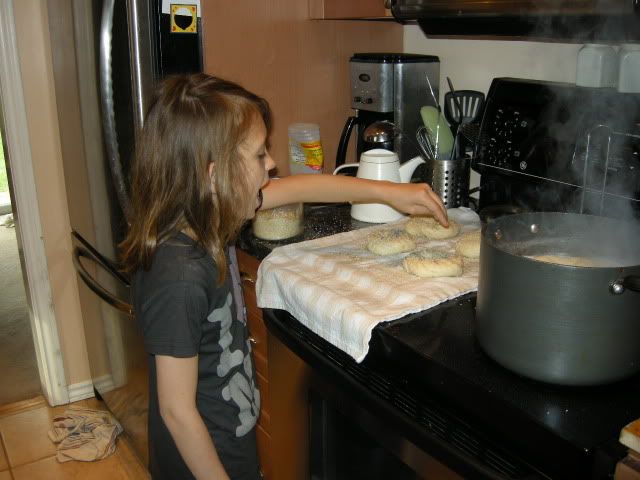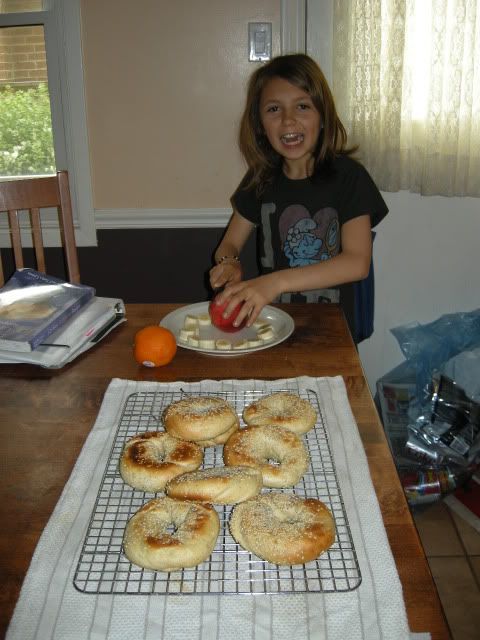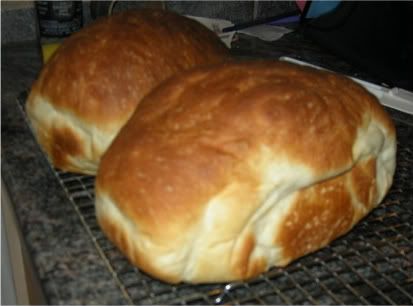
Can anything be better than the smell of freshly baked bread? I'm not sure, a few things come to mind like Chocolate Chip Cookies (recipe below this one) perhaps, but there is something about the smell of fresh bread. It sucks you in and makes you feel all warm and cozy.
We make our bread daily. I bought a Zojirushi breadmaker well over 6 years ago now and have used it like no other appliance in the house. Not an inexpensive investment at nearly $400 Canadian but well worth every penny. It owes me nothing and I think will outlast my poor decrepid van. Once again, this was bought at GoldasKitchens. (I think their ad is floating about my blog somewhere...it's my alltime favorite kitchen store and the brick and mortar one is only a few minutes from me)
The task of dough making goes to our soon to be 14 year old Cameron. It's a trade off. We save money by making it ourselves and since he is the one making it everyday now I pay for his cell phone. I think that's fair.
I have played with different recipes in the breadmaker for a long time but found this one works the best. It's soft, and perfect for sandwiches, shaping into buns etc. I use it as a base for my family famous cinnamon buns (move over Cinnabon). It's very versatile. Sometimes we make sandwich buns instead of bread. This is the recipe I use to make hamburger buns as well.
Here it is: Sour Cream Bread/Bun recipe
Main
1/2 cup water
1/2 cup sour cream
1 tsp salt
2 tbsp sugar
2 3/4 all purpose flour
2 1/2 tsp bread machine fast rising yeast
1 slightly beaten egg
Optional
sesame seeds
1 large egg (optional) ..but damned good
Add the first seven ingredients in order to the bread machine. Put on dough cycle. (I use quick dough cycle...45 minutes). Remove from machine.
From here, we flour the surface of our large wooden board and divide the dough in half. Placing each loaf in a seperate loaf pan lined with parchment paper (Lining it with parchment is very important as this one will stick. If you forget the parchment paper, you can use "Pam", but be prepared to leave the bread to cool completely in the pan before trying to remove it). I find using parchment paper the best as you can immediately remove the finished loaves onto a cooling rack and dig in!!
The loaves are now split into the two pans, cover with a tea towel and let rise for about 45 minutes or so, checking on them periodically to ensure they aren't getting too big. I usually set the oven at 425 at this point, put the loaves on the stove and cover them. The heat from the oven will help them rise faster.
Once risen, bake at 425 for 12 minutes and remove. If you like prior to rising you can brush on the optional scrambled egg with a pastry brush and sprinkle with sesame seeds.
For buns: Again, remove the dough from the machine and place on a floured surface. Roll the dough into a log shape and cut the dough into rounds approx 1 inch thick. Shape them into a bun shape and place on a cookie sheet lined with parchment paper. (You may need two sheets but generally I get about 12 buns and fit them on one). You can brush on the egg and sesame at this point if you like. Again, cover with a clean tea towel on top of the stove and let rise for about 45 minutes.
Pop them into the oven after rising for 12 minutes at 425 and there you are. Fantastic sandwich buns.
We make our bread daily. I bought a Zojirushi breadmaker well over 6 years ago now and have used it like no other appliance in the house. Not an inexpensive investment at nearly $400 Canadian but well worth every penny. It owes me nothing and I think will outlast my poor decrepid van. Once again, this was bought at GoldasKitchens. (I think their ad is floating about my blog somewhere...it's my alltime favorite kitchen store and the brick and mortar one is only a few minutes from me)
The task of dough making goes to our soon to be 14 year old Cameron. It's a trade off. We save money by making it ourselves and since he is the one making it everyday now I pay for his cell phone. I think that's fair.
I have played with different recipes in the breadmaker for a long time but found this one works the best. It's soft, and perfect for sandwiches, shaping into buns etc. I use it as a base for my family famous cinnamon buns (move over Cinnabon). It's very versatile. Sometimes we make sandwich buns instead of bread. This is the recipe I use to make hamburger buns as well.
Here it is: Sour Cream Bread/Bun recipe
Main
1/2 cup water
1/2 cup sour cream
1 tsp salt
2 tbsp sugar
2 3/4 all purpose flour
2 1/2 tsp bread machine fast rising yeast
1 slightly beaten egg
Optional
sesame seeds
1 large egg (optional) ..but damned good
Add the first seven ingredients in order to the bread machine. Put on dough cycle. (I use quick dough cycle...45 minutes). Remove from machine.
From here, we flour the surface of our large wooden board and divide the dough in half. Placing each loaf in a seperate loaf pan lined with parchment paper (Lining it with parchment is very important as this one will stick. If you forget the parchment paper, you can use "Pam", but be prepared to leave the bread to cool completely in the pan before trying to remove it). I find using parchment paper the best as you can immediately remove the finished loaves onto a cooling rack and dig in!!
The loaves are now split into the two pans, cover with a tea towel and let rise for about 45 minutes or so, checking on them periodically to ensure they aren't getting too big. I usually set the oven at 425 at this point, put the loaves on the stove and cover them. The heat from the oven will help them rise faster.
Once risen, bake at 425 for 12 minutes and remove. If you like prior to rising you can brush on the optional scrambled egg with a pastry brush and sprinkle with sesame seeds.
For buns: Again, remove the dough from the machine and place on a floured surface. Roll the dough into a log shape and cut the dough into rounds approx 1 inch thick. Shape them into a bun shape and place on a cookie sheet lined with parchment paper. (You may need two sheets but generally I get about 12 buns and fit them on one). You can brush on the egg and sesame at this point if you like. Again, cover with a clean tea towel on top of the stove and let rise for about 45 minutes.
Pop them into the oven after rising for 12 minutes at 425 and there you are. Fantastic sandwich buns.


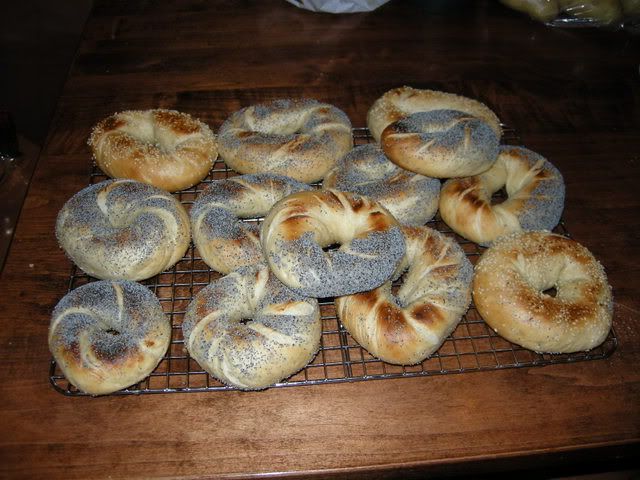
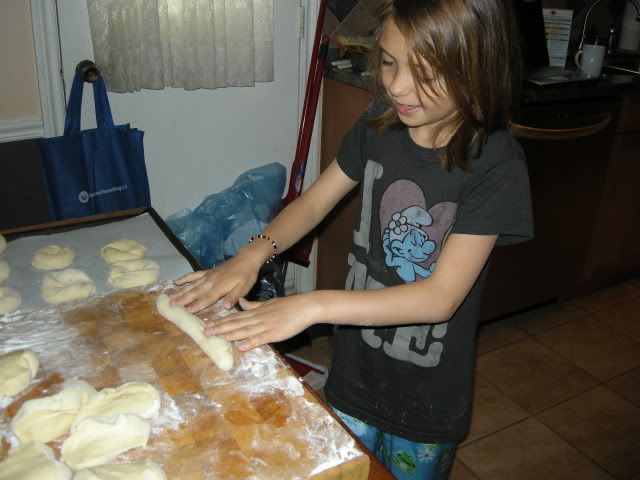 Making the bagel shapes