We made this cake for my Daughter's 8th Birthday. Her class had just finished a rousing performance of "Going Buggy" and she was the kidnapped Ladybug. She wowed her dad and I (who thought she was tone deaf to be honest) with a spectacular solo, belting out "that's no way to treat a ladybug" complete with the required "Don't mess with this gal" attitude. She brought tears to my eyes, not only in pride but also because I forgot the video camera...I have "part" of her performance thanks to a neighbour.
In honour of this we decided on a ladybug cake for her class. It was a hit and was really quite simple to make
Okay...here ya go. HAVE FUN!!!!!
The icing is just a simple buttercream. 1/2 cup butter, 1/2 cup shortening, 4 cups of icing sugar, 1 tsp vanilla. Whip the butter, shortening, add one cup of icing sugar, whip again, add vanilla, whip, add icing sugar one cup at a time. Add a tablespoon of milk at a time to get a good consistency. I also add about 2 tblsp of clear corn syrop to help with consistency before adding the milk.
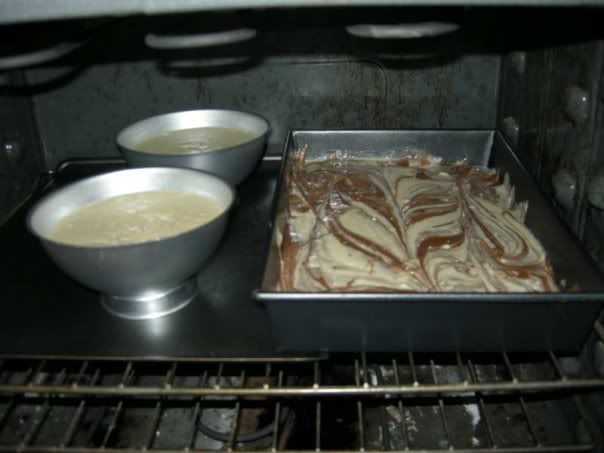
9 x 13 pan for leaf
Pans for the round body of ladybug (ended up with an extra one...the kids enjoyed it)
Baking (please ignore the dirty oven). Most of the pans I use are Wilton's and my favorite Baking Store...Golda's Kitchens.
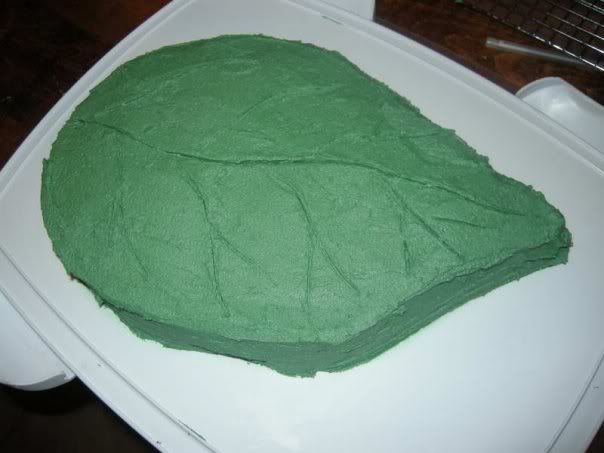
Leaf cut out and iced. TIP: You can do two things to avoid the crumbs in the icing.
One: do a thin layer of icing with crumbs in it. Put in fridge for awhile until it gets harder then ice on top of it
Two: Take a jar of apricot or apple JELLY (not jam), nuke it until it's liquidy and brush it over the cakes. Let cool for about 1/2 hour in the fridge and you'll get no crumbs. It also helps to adhere the icing to the cake
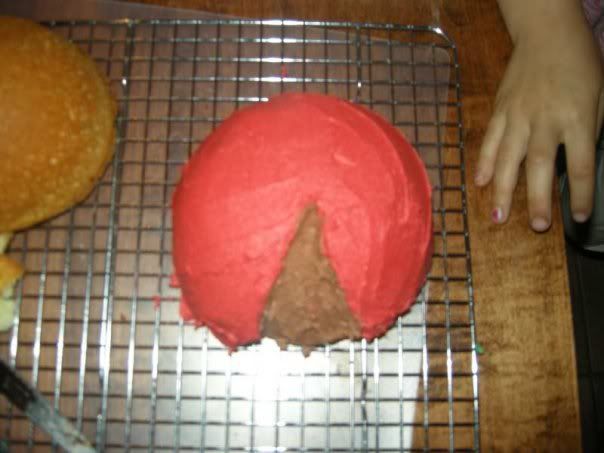
Ladybug body done. Transfer onto leaf with a spatula
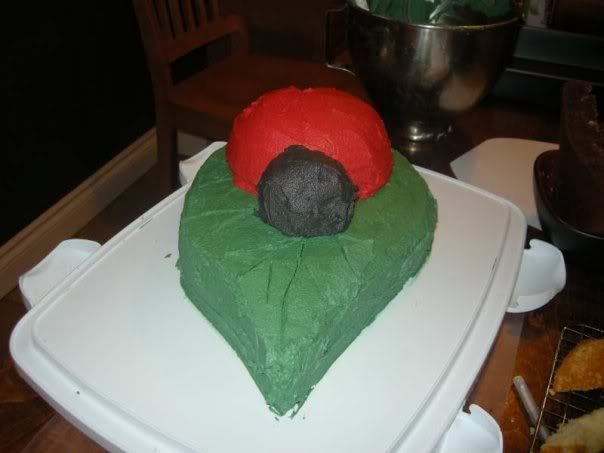
Body added. I made the head with an extra piece of cake, iced it and added. I filled in spots I missed with icing from a bag to avoid crumbs
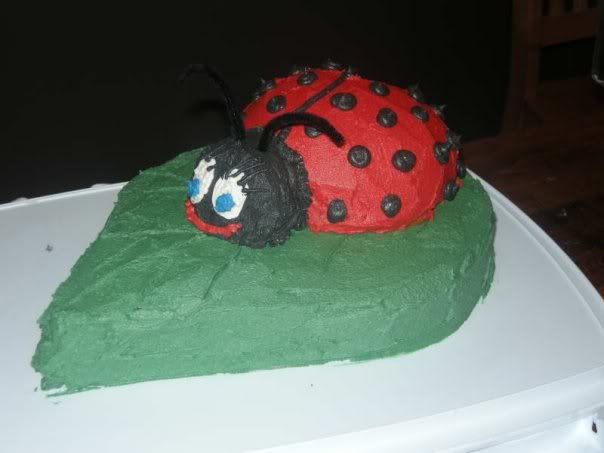
Polka dots and such added with an icing bag. (if you don't have one you can always use a ziploc bag and cut a very small hole in the corner to make a tip.
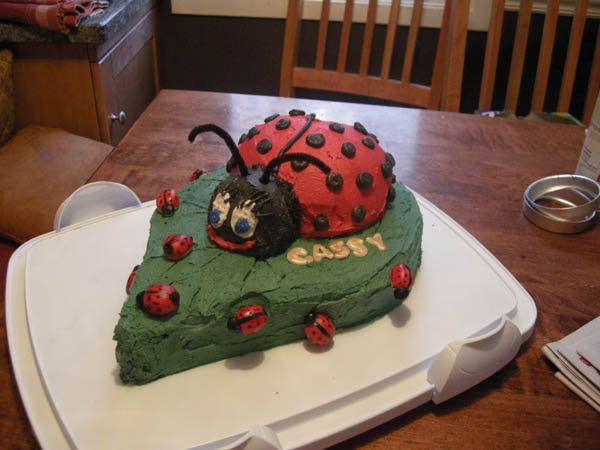
Final embellishments. Little lady bugs made of marshmallow fondant. I'll type up the recipe for you. (easy peasy and it tastes like the inside of an oreo cookie) These are stuck on with toothpicks
For Fondant icing.
This one is a little trickier but after you make it once it's pretty easy. It molds like playdoh and rolls out super thin. It's paintable with food colouring and the possibilities are endless.
Here is the recipe I use. THis is a copy of a post in a cake decorating forum that I go to for ideas. Bunnywoman was the originator of this recipe.
The recipe is as follows:
Marshmallow fondant
1 cup mini marshmallows
1 tbsp water
1 1/2- 1 3/4 cup powder sugar
Place marshmallows in a standard 1 cup measuring cup and push down and pack them in. Place in a microwave safe bowl and add the water. Put in the microwave for about 20 seconds. Just long enough for them to soften and puff up. Take out and stir with a spoon until it is combined well. At this point it looks kind of soupy. Then add the sugar and mix and fold until all is incorporated and it is no longer sticky. I take it out of the bowl when it gets to the point where most of the sugar is incorporated and I knead it in my hands. This takes roughly about 5-7 minutes. Take a fondant roller or a regular rolling pin and roll out just as you would Wilton's fondant. You can get this fondant almost paper thin and it also repairs well. It's cheap, easy to work with, and tastes great too.
You can make a large batch of this fondant as well by doing this:
Large batch of Marshmallow fondant
1- 16 oz bag of mini marshmallows
2 tbsps water
2 lbs powdered sugar (8 cups)
Do the same procedure as above.
Tips for success from Bunny:
I add any flavor Lorann Oil flavorings to this. Something that will compliment my cake well. What I do is cut back on the water and add about 1/8 tsp Lorann flavoring. You can certainly add more (especially if I make the large batch) for a more of a pungent flavor, just adjust the water amount accordingly. *****The more liquid you add to this will make it stickier to work with. Try to be accurate in measuring the liquid.*****
Stickiness??????
If it is way to sticky to work with then cut back on the amount of liquid that you used by about 1/2 tsp. This will help.
Let it sit out and "air dry" for about 10 minutes.
Use a small amount of Crisco on your work surface and hands. A little goes a very long ways so don't go over board with the Crisco.
Knead the dough with a spoon!!!!! Do not attempt to pick it up and knead it too soon. This dough is hot when comes right out of the microwave!!!!! I say this because I have had people contact me saying they received a burn from it. I can almost knead it fully with a spoon.
Dough that is not in use must stay covered with plastic wrap or it will dry out. Or place it in a Ziploc bag. That works too.
Dried out Marshmallow fondant: place it back into the microwave and nuke it for a few seconds to revive it back to its original state. The bigger the batch the more time on the microwave. Example: small batch 3-5 seconds.......large batch about 10 seconds. Microwaves vary too so keep that in mind.
Coloring: well I have experimented with this several different ways. If I want to make the whole batch of Marshmallow fondant one color then I have added the color, just Wilton paste color, Americolors, or Chefmaster colors.....any will work for this, when I pull the bowl out of the microwave when it looks "soupy". Stirred it up and then added the powdered sugar. Otherwise I have added it after it has come together and kneaded it in by hand. I use plastic gloves too when I do this, because otherwise your hands are never the same!!!!
You can work with this just as you would the regular fondant. Pizza rollers cut this very well. Ribbon cutters work fabulous too for this. I can make bows and drapes, push molds etc with this. I love the taste of this stuff. Great on the pocketbook too!!!!!!
Happy Decorating!
OH...wanted to add...for the marshmallow fondant. I made the last batch using the kitchenaid mixer to get it mostly mixed then kneaded it until smooth. Worked like a charm.
I will confess sometimes I cheat and use boxed cakes. I substitute Buttermilk for water in all box recipes